
Last year’s evapotrons got rid of a lot of grey water, on the order of 175 gallons. Good, but I think the design suffered from the Arduino (from my code, anyway). The machine crashed a lot and got into weird loops, so the control devices I built ended up leaving the pump not running for chunks of time.
New attempt: we’ll just let the pumps run all the time. They’re not loud, and they don’t draw all that much power (about 25w each). No Arduino.
Also we realized that without the Arduino, the evaporation towers can sit in a single kiddie pool (we don’t need the two-stage mechanism we had last year). That means each tower can be made of deer wire and rebar. Here’s the structure:
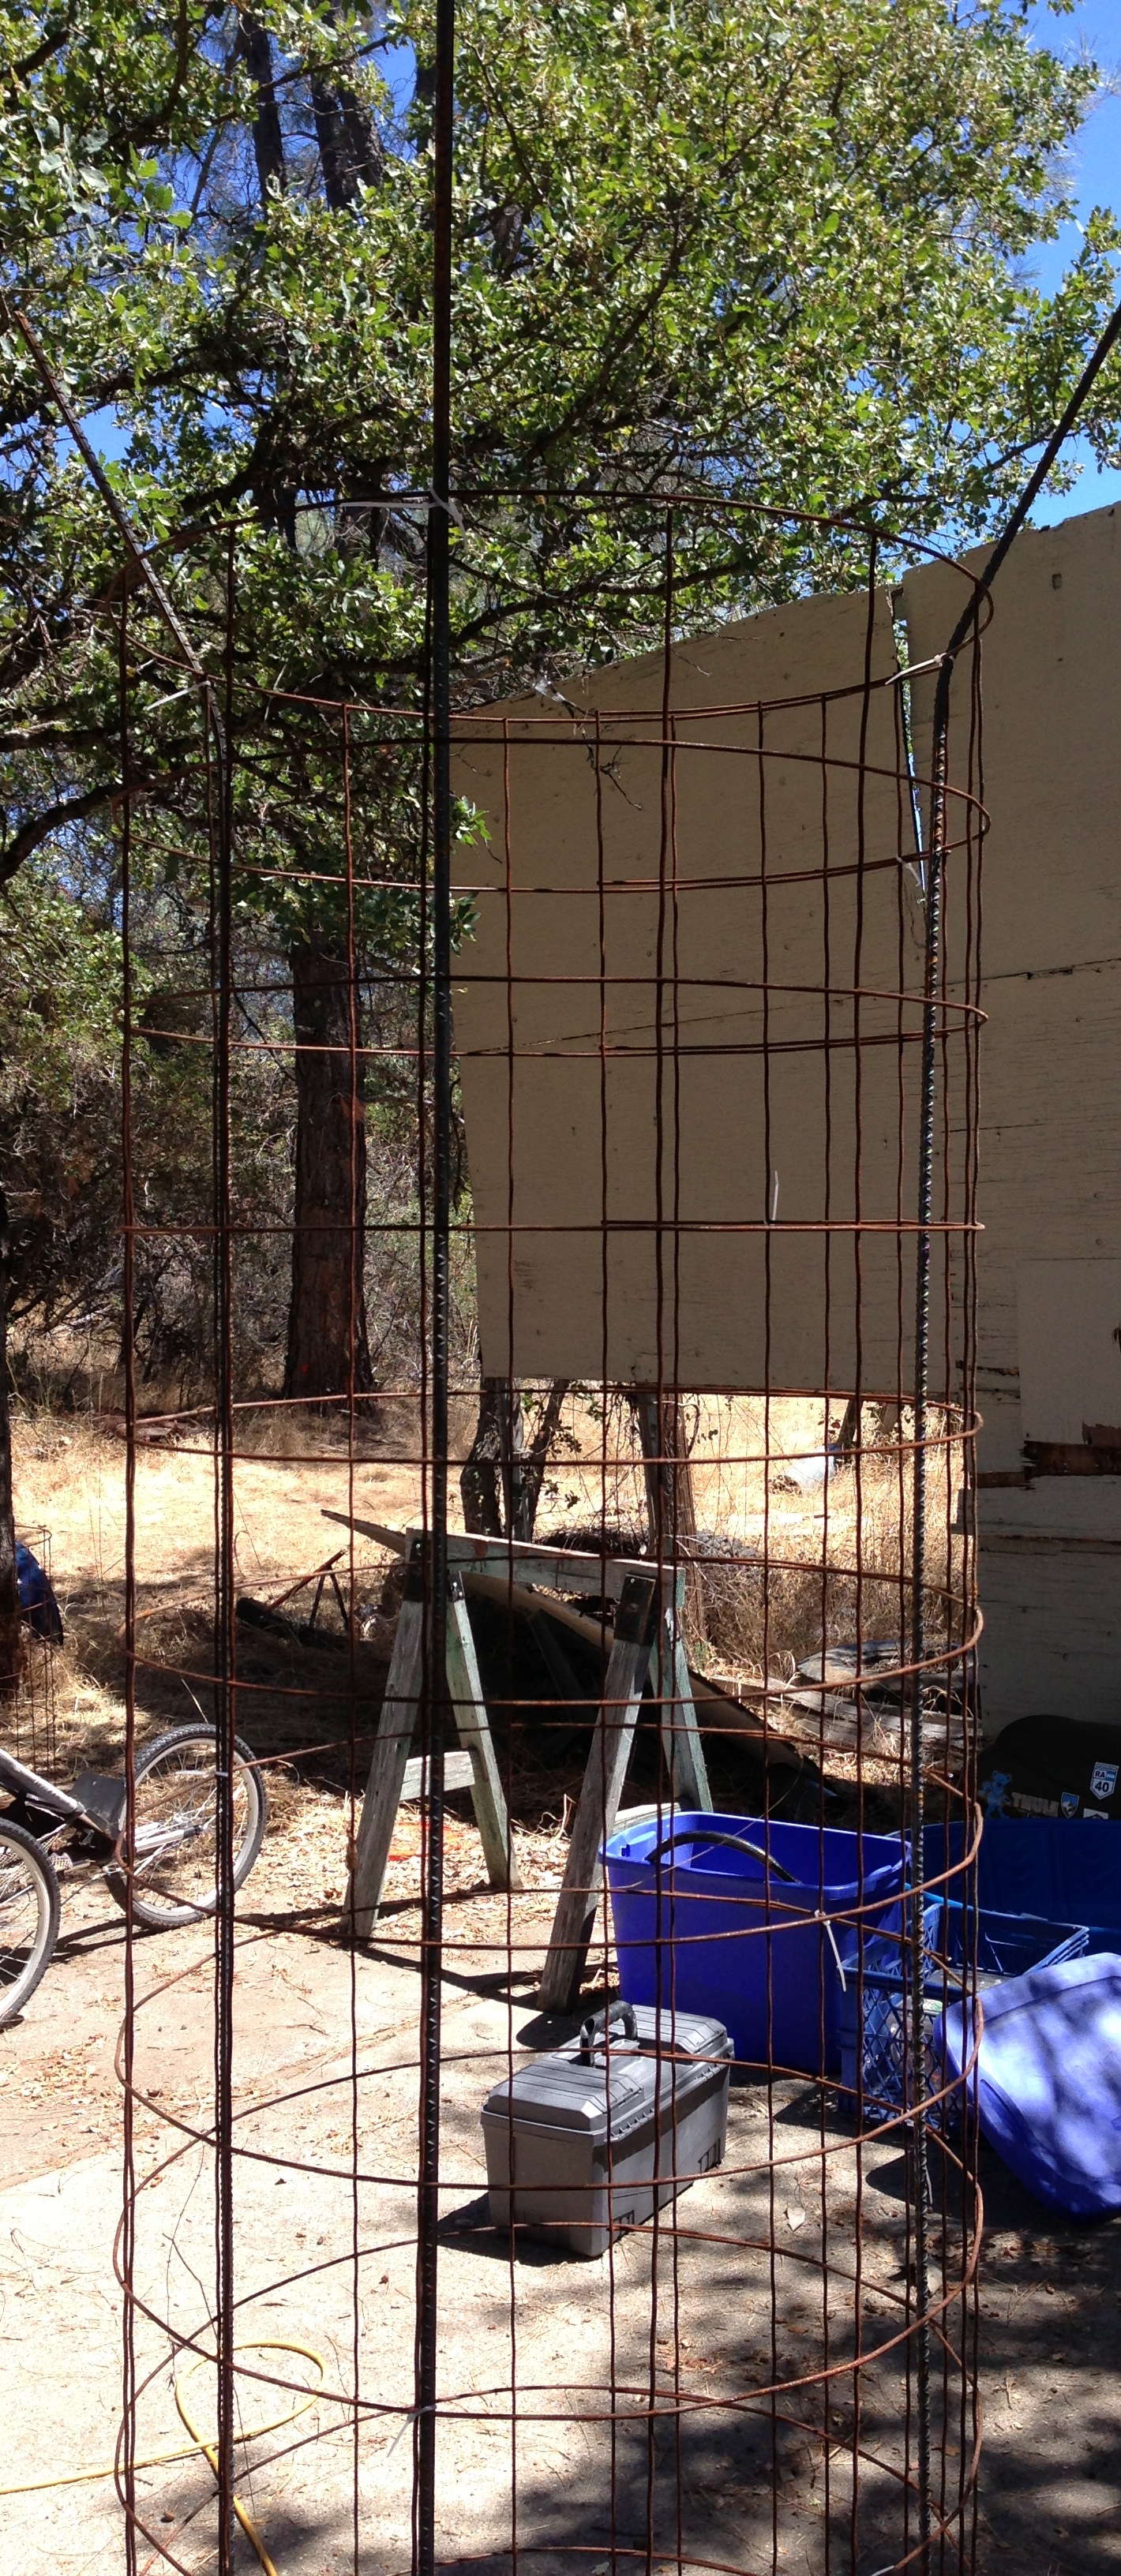
In the image, you can see the deer wire formed in a 7′ tall, 36″ diameter cylinder. At three equilateral points, a piece of 8′ rebar will be fixed to the deer wire to give it more vertical rigidity. The cylinder will be wrapped in burlap.

The rebar comes out of the cylinder at the top. From each rebar top, we’ll fix a line of webbing down to the truck, kind of like the diagram below.

Last year we used a strap of webbing wrapped around the truck to anchor the evapotron to the truck. This year, we’ll have 3 straps around the truck. Each evapotron will attach to the straps by 3 guy-ropes: one toward the center, and two to the front or rear corners. The guy ropes are 1000-lbs test ratcheted tie-downs, so I think they’ll hold fine. The guy-ropes also provide a way to level the top of the evapotron, which turns out to be Very Important.
We’ve also improved the water distribution mechanism on top of the saucer. Note the PVC is all fitted and glued.
 Underneath the saucer, the PVC attaches to a simple hose that drops to the pump sitting in the kiddie pool. No Arduino, though I may yet add an Arduino to drive some blinkies to show off the evapotrons. More to come.

[…] P and I designed these towers in early August, and with some help, I assembled them on the playa. These towers are made of 7′ deer fencing […]
May I ask how you made the PVC coupling that is spinning? I would also like to build a similar evapotron.
How did you create the PVC fitting that spins? I would like to build a similar evapotron for burning man too.
The PVC fitting doesn’t spin, the water comes out at fixed points and flows over the plastic. This is one of the design’s weaknesses because the water does not always distribute evenly around the tower. It is sensitive to being level.
How about a loop of drip-irrigation hose around the top of the structure? Eliminates the need for the saucer, some weight, and if you zip-tie it to the top of the tower, the need for the tower to be level?
Yes, we tried that. The issue is that drip-irrigation hoses have very small openings. Even after filtering thru colander -> screen -> nylon hose, grey water still has lots of suspended particulates. The little slits in the irrigation hose get jammed up pretty quickly.
How did you attach the burlap to the saucer to make water flow down the fabric nicely? I used burlap with a linear evaporator last year but had to continually adjust it to make sure the water flowed on to the fabric without dripping out.
We tried lots of zip ties in the first year, not so great. We found that just wrapping the tower with string outside the burlap works great. After the burlap is soaked, water will run down on top of it, but that’s ok. More water exposed to more air more of the time means more evaporation.